
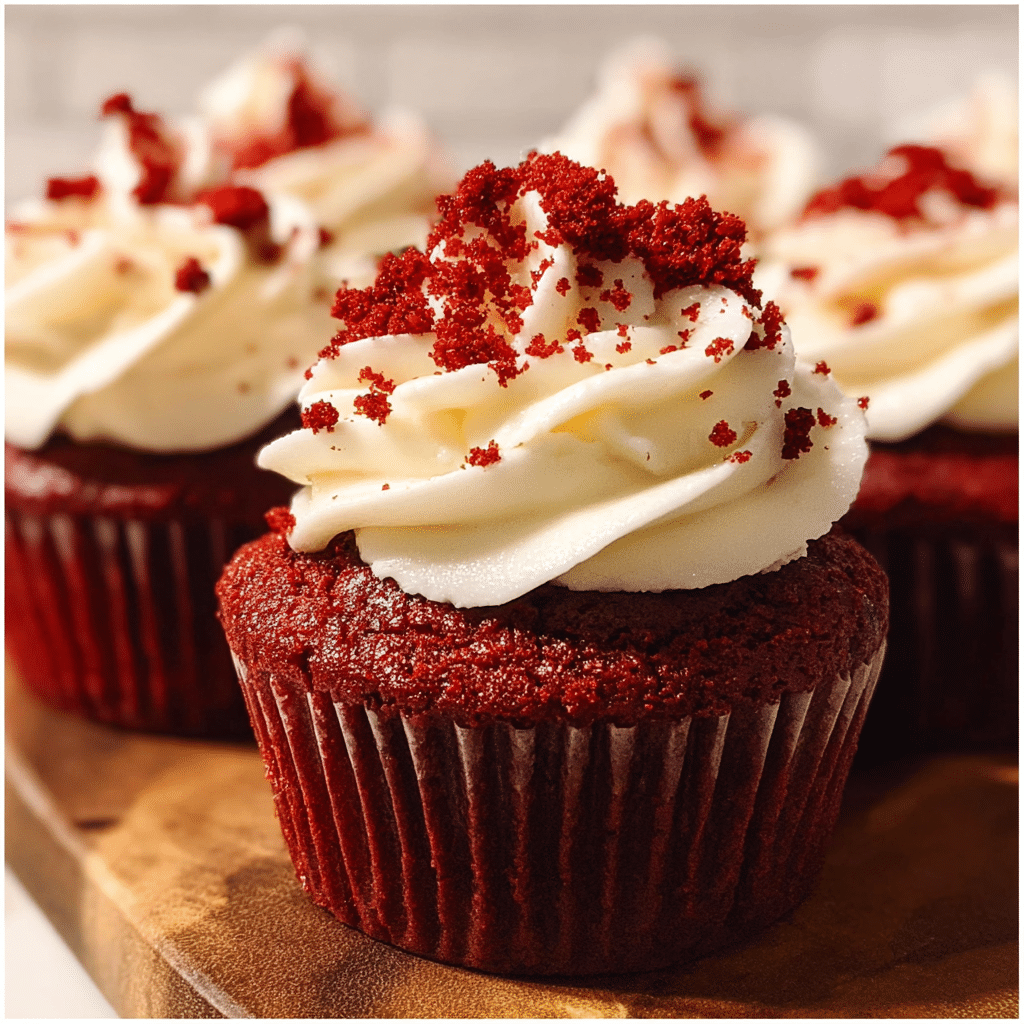
Red velvet cupcakes are the crown jewels of any dessert table, combining a tender crumb with a subtle cocoa flavor and that signature crimson hue. Have you ever bitten into a red velvet cupcake only to find it dry, overly sweet, or lacking that characteristic velvety texture? I’m Lisa, the heart and soul behind Recipesrealm, and after years of perfecting this recipe in my kitchen, I’ve discovered the secrets to creating red velvet cupcakes that are impossibly moist, perfectly balanced, and absolutely stunning.
As someone who’s spent countless hours testing buttermilk ratios and perfecting cream cheese frosting, I can confidently say this recipe will become your go-to for every celebration. Cooking has always been my passion, and these cupcakes represent everything I love about baking—they’re elegant yet approachable, impressive yet simple to make. In this comprehensive guide, I’ll walk you through selecting the right ingredients, mastering the mixing technique, achieving that perfect dome, and decorating like a pro. Whether you’re preparing for a birthday party, wedding shower, or Valentine’s Day celebration, these cupcakes will steal the show.
Why This Red Velvet Cupcakes Recipe Works
At Recipesrealm, we believe that food isn’t just about taste—it’s about creating memories and sharing moments. These red velvet cupcakes embody that philosophy perfectly. Here’s what makes this recipe exceptional:
- Uses pantry-friendly ingredients: No specialty items required—just quality cocoa powder, buttermilk, and standard baking essentials you likely already have
- Foolproof mixing method: The reverse creaming technique ensures a tender, fine crumb every single time, even for beginner bakers
- Perfect for any occasion: From cozy family dinners to vibrant gatherings, these cupcakes elevate every celebration with their stunning appearance and luxurious taste
- Advance-friendly: Bake ahead and freeze for up to three months, or prepare the batter the night before for fresh-baked morning treats
- Customizable sweetness: Easily adjust the sugar content in both the cake and frosting to suit your taste preferences
The secret lies in the buttermilk’s acidity reacting with baking soda, creating an incredibly tender texture that melts on your tongue. Combined with just enough cocoa to provide depth without overpowering the vanilla notes, these cupcakes achieve that elusive balance that makes red velvet so beloved.
Choosing the Right Ingredients for Red Velvet Cupcakes
The quality of your ingredients directly impacts the final result. Let me share my hard-earned wisdom on selecting the best components for your red velvet cupcakes.
Best Ingredients for This Recipe
Cocoa Powder: Dutch-processed cocoa creates a smoother, less acidic flavor, but natural cocoa powder works beautifully too. I prefer natural cocoa because it enhances the red color when combined with the acid in buttermilk. Use about 2 tablespoons—enough for flavor without turning them into chocolate cupcakes.
Food Coloring: Liquid red food coloring (1-2 tablespoons) gives a deep red hue, while gel food coloring provides more vibrant color with less liquid. For natural alternatives, try beet powder, though the color will be more burgundy than bright red.
Buttermilk: This is non-negotiable for authentic red velvet cupcakes. The acidity tenderizes the gluten and reacts with baking soda for that characteristic velvety texture. Full-fat buttermilk yields the richest results.
Cream Cheese: For the frosting, use full-fat brick-style cream cheese (never spreadable), at room temperature. This ensures a stable, pipeable frosting that won’t weep or separate.
Buying Tips
Look for fresh buttermilk with a “sell-by” date at least a week away—it should smell tangy but clean, never sour or off. When selecting cream cheese, squeeze the package gently; it should feel firm, not soft or watery. For cocoa powder, check that it’s not clumpy or hardened, which indicates age and moisture exposure.
Visit your baking supply aisle for professional-grade gel food colors if you want that show-stopping red hue. Brands like Americolor or Wilton provide concentrated color that won’t thin your batter.
Substitutions
No buttermilk? Create a substitute by adding 1 tablespoon white vinegar or lemon juice to 1 cup whole milk. Let it sit for 5 minutes until it curdles slightly.
Dairy-free option: Swap buttermilk for coconut milk mixed with vinegar, and use vegan butter and cream cheese alternatives. The texture will be slightly different but still delicious.
Reduced sugar: You can decrease sugar by up to 25% without significantly affecting texture, though the cupcakes will be less sweet and slightly denser.
Ingredients & Prep for Red Velvet Cupcakes
Proper preparation is the foundation of baking success. Let’s break down exactly what you need and how to prep it.
Essential Prep Steps
Room Temperature Ingredients: This is crucial! Butter, eggs, and cream cheese should sit out for 45-60 minutes before baking. Room temperature ingredients emulsify better, creating a smoother batter and more even texture. Cold eggs can cause the batter to curdle, and cold cream cheese creates lumpy frosting.
Measuring Technique: For dry ingredients, use the spoon-and-level method. Spoon flour into your measuring cup and level with a knife—never scoop directly from the bag, which compacts the flour and leads to dense cupcakes.
Pan Preparation: Line your muffin tin with paper liners or grease and flour each cup thoroughly. I prefer liners for easy removal and pretty presentation.
Cupcake Ingredients
- 2½ cups all-purpose flour
- 2 tablespoons natural unsweetened cocoa powder
- 1 teaspoon baking soda
- ½ teaspoon salt
- 1½ cups granulated sugar
- ½ cup unsalted butter, softened
- 2 large eggs, room temperature
- 1 cup buttermilk, room temperature
- 2 tablespoons liquid red food coloring (or 1 teaspoon gel)
- 2 teaspoons pure vanilla extract
- 1 teaspoon white vinegar
Cream Cheese Frosting Ingredients
- 8 ounces cream cheese, softened
- ½ cup unsalted butter, softened
- 4 cups powdered sugar, sifted
- 2 teaspoons pure vanilla extract
- Pinch of salt
- 2-3 tablespoons heavy cream (if needed for consistency)
Marinating Time: Unlike meat recipes, cupcake batter should be baked immediately after mixing to prevent the leavening agents from losing their power. However, you can refrigerate the batter for up to 2 hours if needed—just bring it back to room temperature before baking.
Step-by-Step Cooking Instructions for Red Velvet Cupcakes
Follow these detailed instructions for bakery-quality red velvet cupcakes every time.
Pre-Baking Prep for Red Velvet Cupcakes
Preheat your oven to 350°F (175°C). Position the rack in the center of the oven for even heat distribution. Line two 12-cup muffin tins with paper liners—this recipe yields approximately 20-24 cupcakes depending on fill level.
Sift together the flour, cocoa powder, baking soda, and salt in a medium bowl. Sifting isn’t just fussy baker talk; it aerates the flour, breaks up cocoa clumps, and ensures even distribution of leavening agents. Set this mixture aside.
Bring all refrigerated ingredients to room temperature. This simple step prevents temperature shock and ensures proper emulsification.
Mixing Method for Red Velvet Cupcakes
Step 1: In a large mixing bowl or stand mixer fitted with the paddle attachment, cream the softened butter and sugar on medium speed for 3-4 minutes until light and fluffy. The mixture should nearly double in volume and turn pale. This incorporates air for a lighter texture.
Step 2: Add eggs one at a time, beating well after each addition. Scrape down the bowl sides between additions to ensure everything incorporates evenly.
Step 3: In a separate measuring cup, whisk together buttermilk, food coloring, vanilla extract, and vinegar. The vinegar reacts with baking soda for extra lift.
Step 4: With the mixer on low speed, alternate adding the flour mixture and buttermilk mixture in three additions, beginning and ending with flour. Mix just until combined—overmixing develops gluten and creates tough cupcakes.
Step 5: Give the batter a few gentle folds with a rubber spatula to ensure no flour pockets remain at the bottom.
Step 6: Fill cupcake liners about two-thirds full (roughly 3 tablespoons of batter per cup). Use an ice cream scoop for consistent sizing, which ensures even baking.
Baking Process for Red Velvet Cupcakes
Bake for 18-22 minutes, rotating the pans halfway through for even browning. The cupcakes are done when a toothpick inserted into the center comes out clean or with just a few moist crumbs—never wet batter.
Temperature Check: The internal temperature should reach 205-210°F when measured with an instant-read thermometer. This ensures they’re fully baked without being dry.
Visual Cues: The tops should spring back when lightly pressed, and the cupcakes will just begin to pull away from the liner edges.
Cooling for Red Velvet Cupcakes
Remove the cupcakes from the oven and let them cool in the pans for 5 minutes. This brief rest allows the structure to set, preventing them from collapsing or breaking when moved.
After 5 minutes, transfer cupcakes to a wire cooling rack. Cool completely before frosting—at least 45 minutes. Frosting warm cupcakes causes the cream cheese frosting to melt and slide off.
Pro tip: For urgent situations, place cooled cupcakes in the refrigerator for 15-20 minutes to speed up the process.
Pro Tips for Perfect Red Velvet Cupcakes
After making hundreds of batches, here are my insider secrets for red velvet cupcakes that rival any bakery.
Avoiding Common Mistakes with Red Velvet Cupcakes
Dense, Heavy Texture: This usually results from overmixing the batter or using cold ingredients. Mix just until ingredients combine, and ensure everything is at room temperature before starting.
Dry Cupcakes: Overbaking is the culprit here. Set your timer for 18 minutes and check frequently. Remember, they’ll continue cooking slightly as they cool. Also, measure flour correctly using the spoon-and-level method.
Flat Tops: Old leavening agents lose their power. Check the expiration date on your baking soda—if it’s older than 6 months, replace it. Test by dropping a pinch into vinegar; it should fizz vigorously.
Color Bleeding: If your red color bleeds into the frosting, let cupcakes cool completely and apply a crumb coat first. Refrigerate the crumb-coated cupcakes for 15 minutes before applying the final frosting layer.
Tool Recommendations
Stand Mixer or Hand Mixer: While you can mix by hand, an electric mixer ensures proper creaming and creates lighter cupcakes. A stand mixer frees your hands for other prep work.
Oven Thermometer: Most home ovens run 25°F hotter or cooler than the dial indicates. An oven thermometer ensures accuracy for consistent results.
Cookie Scoop: A 3-tablespoon cookie scoop creates uniform cupcakes that bake evenly and look professional.
Offset Spatula: Essential for smoothly frosting cupcakes and creating that swirled bakery finish.
Piping Bags and Tips: For decorated cupcakes, invest in reusable piping bags and large star tips (like Wilton 1M or 2D).
Storage & Reheating Red Velvet Cupcakes
Room Temperature: Unfrosted cupcakes stay fresh in an airtight container for 2 days. Frosted cupcakes should be refrigerated due to the cream cheese frosting.
Refrigeration: Store frosted red velvet cupcakes in an airtight container in the refrigerator for up to 5 days. Bring to room temperature for 30 minutes before serving for the best flavor and texture.
Freezing: Freeze unfrosted cupcakes in a single layer on a baking sheet until solid, then transfer to freezer bags for up to 3 months. Thaw overnight in the refrigerator, then bring to room temperature before frosting.
Frosting Tip: Freeze frosting separately in an airtight container for up to 2 months. Thaw in the refrigerator overnight, then re-whip briefly before using.
Flavor Variations for Red Velvet Cupcakes
While classic red velvet cupcakes are perfection, these variations add exciting twists for different occasions and dietary needs.
Decadent Chocolate Twist
Add an extra tablespoon of cocoa powder and fold in ½ cup mini chocolate chips for red velvet cupcakes with intensified chocolate flavor. Top with chocolate cream cheese frosting by adding 2 tablespoons cocoa powder to the frosting recipe.
Citrus-Kissed Red Velvet Cupcakes
Replace vanilla extract with 1 teaspoon orange or lemon extract. Add 1 tablespoon of citrus zest to the batter for bright, refreshing notes. Complement with citrus cream cheese frosting by adding 2 teaspoons lemon or orange zest.
Keto-Friendly Red Velvet Cupcakes
Substitute almond flour (2¾ cups) for all-purpose flour, and use erythritol or monk fruit sweetener in place of sugar. Replace buttermilk with unsweetened almond milk mixed with vinegar. The texture will be denser but still delicious. Use sugar-free cream cheese frosting made with powdered erythritol.
Global Flavors for Red Velvet Cupcakes
Mexican Chocolate: Add 1 teaspoon cinnamon and ¼ teaspoon cayenne pepper for warmth and subtle heat.
Italian-Inspired: Fold in ¼ cup finely chopped toasted hazelnuts and add ½ teaspoon almond extract. Top with mascarpone frosting instead of cream cheese.
French Vanilla Bean: Split and scrape one vanilla bean into the batter in addition to vanilla extract for an elegant, sophisticated flavor.
Flavor Variations Comparison Table
| Variation | Key Ingredients | Flavor Profile | Best For |
|---|---|---|---|
| Classic Red Velvet | Cocoa, buttermilk, vanilla | Subtle chocolate, tangy, mild | Traditional celebrations, weddings |
| Chocolate Lovers | Extra cocoa, chocolate chips | Rich chocolate, intense | Chocolate enthusiasts |
| Citrus Red Velvet | Orange/lemon zest & extract | Bright, refreshing, tangy | Summer parties, brunches |
| Keto Red Velvet | Almond flour, sugar substitutes | Nutty, less sweet | Low-carb diets |
| Mexican Chocolate | Cinnamon, cayenne | Warm, spicy, exotic | Cinco de Mayo, adventurous eaters |
| Italian Hazelnut | Hazelnuts, almond extract | Nutty, elegant | Sophisticated gatherings |
Serving Suggestions for Red Velvet Cupcakes
Presentation matters! Here’s how to serve your red velvet cupcakes for maximum impact.
Classic Presentation: Pipe cream cheese frosting in tall swirls using a large star tip. Sprinkle with red velvet cake crumbs made from leftover cupcake scraps for an elegant finish.
Valentine’s Day: Top with fresh raspberries, white chocolate curls, or heart-shaped sprinkles. Dust lightly with edible gold dust for extra romance.
Birthday Parties: Add colorful sprinkles that complement your party theme. Create a cupcake tower using a tiered stand for dramatic presentation.
Dessert Pairings: Serve alongside vanilla bean ice cream or fresh whipped cream. The cool creaminess balances the rich cupcake beautifully.
Beverage Pairings:
- Coffee or espresso cuts through the sweetness and enhances the chocolate notes
- Champagne or sparkling rosé for elegant celebrations
- Cold milk is perfect for casual family gatherings
- Hot chocolate creates an indulgent chocolate-on-chocolate experience
Side Dishes: While cupcakes typically stand alone, consider offering:
- Fresh berries (strawberries, raspberries, blackberries) for a refreshing contrast
- Whipped cream or crème fraîche for those who want extra richness
- Vanilla custard or crème anglaise for a restaurant-quality dessert experience

FAQs About Red Velvet Cupcakes
Let me answer the most common questions I receive about making perfect red velvet cupcakes.
Can I make red velvet cupcakes without food coloring? Yes! The cupcakes will be brown instead of red, but the flavor remains delicious. Some recipes use beet juice for natural coloring, though it produces more of a burgundy shade. The name “red velvet” originally came from the reddish hue that cocoa powder naturally produced when combined with acidic ingredients.
Why are my red velvet cupcakes not red enough? Insufficient food coloring is usually the issue. Use 1-2 tablespoons of liquid red food coloring or 1 teaspoon of gel food coloring for vibrant color. Also, natural cocoa powder (not Dutch-processed) maintains better color intensity. Using too much cocoa will create darker, more chocolatey cupcakes.
Can I use frozen buttermilk? Yes, buttermilk freezes well for up to 3 months. Thaw overnight in the refrigerator and shake well before using, as separation is normal. Bring to room temperature before adding to your batter.
How do I fix cupcakes that sank in the middle? Sinking typically indicates underbaking or opening the oven door too early. Ensure cupcakes bake the full time and resist peeking for at least 15 minutes. Old baking soda or overmixing can also cause collapse. Unfortunately, already-sunk cupcakes can’t be fixed, but generous frosting hides minor imperfections!
Is this recipe safe during pregnancy? Yes! All ingredients are pregnancy-safe when using pasteurized dairy products. The eggs are fully cooked, and the cream cheese frosting uses pasteurized cream cheese. If you’re concerned about food coloring, opt for natural alternatives like beet powder.
Can I make these cupcakes ahead of time? Absolutely! Bake unfrosted cupcakes up to 2 days ahead and store at room temperature in an airtight container. Frost the day of serving for the best appearance. You can also freeze unfrosted cupcakes for up to 3 months. Cream cheese frosting can be made 1 week ahead and refrigerated; re-whip before using.
Why is my cream cheese frosting runny? Several factors cause runny frosting: cream cheese or butter too warm (should be around 65-68°F), not enough powdered sugar, or using spreadable cream cheese instead of brick-style. Fix runny frosting by refrigerating for 20 minutes, then re-whipping. Add more powdered sugar if needed.
Can I convert this recipe to a layer cake? Yes! This recipe makes two 9-inch round layers. Divide batter evenly between prepared pans and bake for 25-30 minutes. The cake is done when a toothpick comes out clean. You’ll need to double the frosting recipe for a layer cake.
Conclusion
There you have it—the complete guide to creating red velvet cupcakes that will make you the star of every gathering! From cozy family dinners to vibrant celebrations, these cupcakes bring joy, beauty, and unforgettable flavor to your table. The tender crumb, subtle chocolate notes, and tangy cream cheese frosting create that perfect balance that makes red velvet an enduring favorite.
At Recipesrealm, we’re not just about food—we’re about the experience! These red velvet cupcakes represent everything I love about baking: they’re impressive yet achievable, elegant yet comforting, and always create moments worth remembering. Whether you’re an experienced home cook or just getting started, this recipe will help you enjoy the process and savor every bite.
Fire up your oven and try this tonight! Join the thousands of home cooks who’ve fallen in love with these cupcakes. Each dish I create is a labor of love, designed to bring joy to your kitchen and delight to your taste buds, and these red velvet cupcakes are no exception.
Let’s make every moment in the kitchen memorable! Thank you for being a part of this culinary journey. I can’t wait for you to try my No-Bake Choc-Cherry Slice: A Decadent Treat Without the Oven and discover how much fun baking can be. Once you’ve mastered these beauties, explore more of our celebration-worthy recipes like our Classic Vanilla Layer Cake or Decadent Chocolate Brownies for your next special occasion.
If you loved this recipe, don’t forget to share it with your friends or save it to try later! I’d be thrilled to see your personal touch—share your photos on Pinterest
Print
red velvet cupcakes
Description
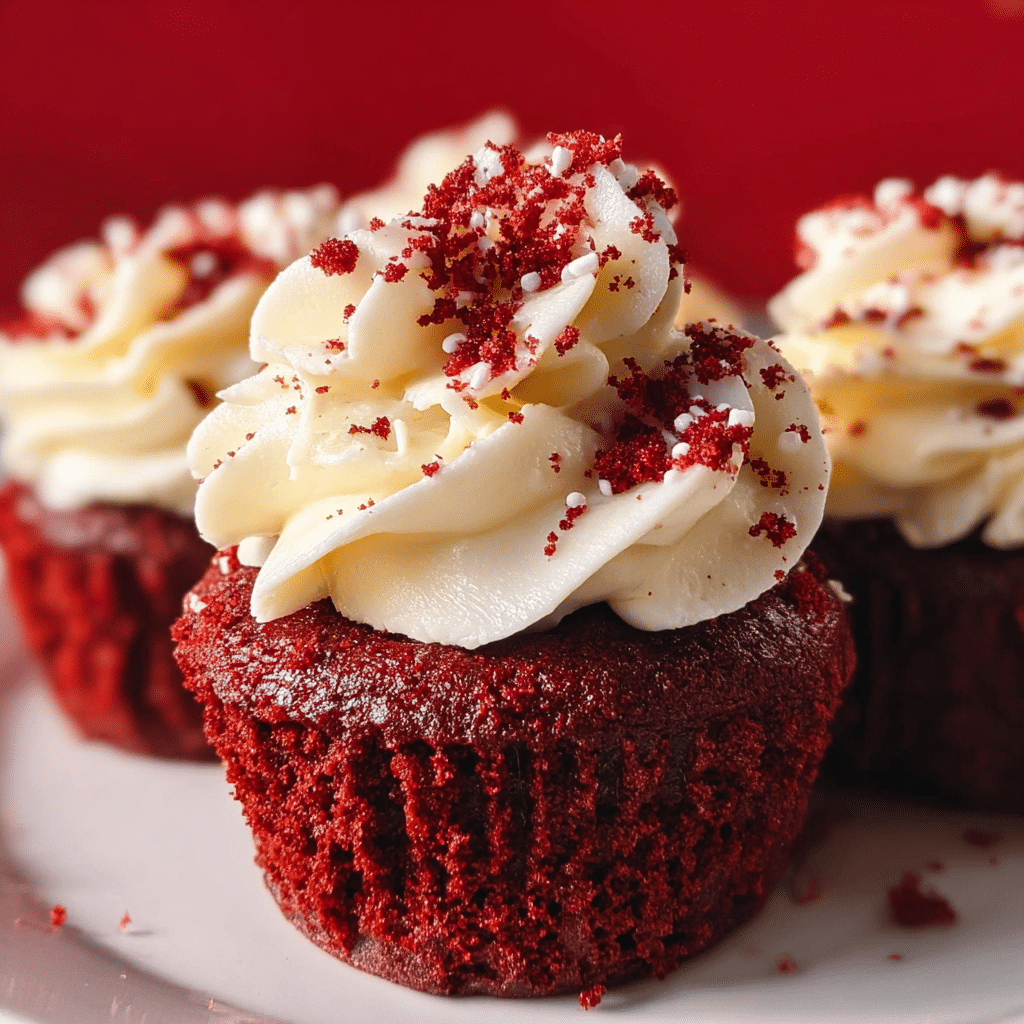
These Red Velvet Cupcakes are moist, fluffy, and perfectly balanced with a hint of cocoa and a touch of tang. Topped with rich cream cheese frosting, they’re the ultimate dessert for Valentine’s Day, birthdays, or any special occasion!
Ingredients
**For the Cupcakes:**
1 1/4 cups (160g) all-purpose flour
1 tbsp cocoa powder
1/2 tsp baking soda
1/4 tsp salt
1/2 cup (120ml) buttermilk
1 tsp white vinegar
1 tsp vanilla extract
1/2 cup (115g) unsalted butter, softened
3/4 cup (150g) granulated sugar
2 large eggs
1 tbsp red food coloring
**For the Cream Cheese Frosting:**
8 oz (225g) cream cheese, softened
1/2 cup (115g) unsalted butter, softened
2 cups (240g) powdered sugar
1 tsp vanilla extract
Instructions
1. Preheat oven to 350°F (175°C). Line a 12-cup muffin tin with cupcake liners.
2. In a bowl, whisk together flour, cocoa powder, baking soda, and salt.
3. In another bowl, mix buttermilk, vinegar, and vanilla; set aside.
4. Beat butter and sugar together until light and fluffy.
5. Add eggs one at a time, mixing well after each addition.
6. Mix in the red food coloring.
7. Add dry ingredients alternately with the buttermilk mixture, starting and ending with the dry ingredients. Mix until just combined.
8. Divide batter evenly among cupcake liners (about 2/3 full).
9. Bake for 18–20 minutes or until a toothpick comes out clean.
10. Cool completely before frosting.
11. For the frosting: beat cream cheese and butter together until smooth.
12. Add powdered sugar gradually, then vanilla, and beat until light and fluffy.
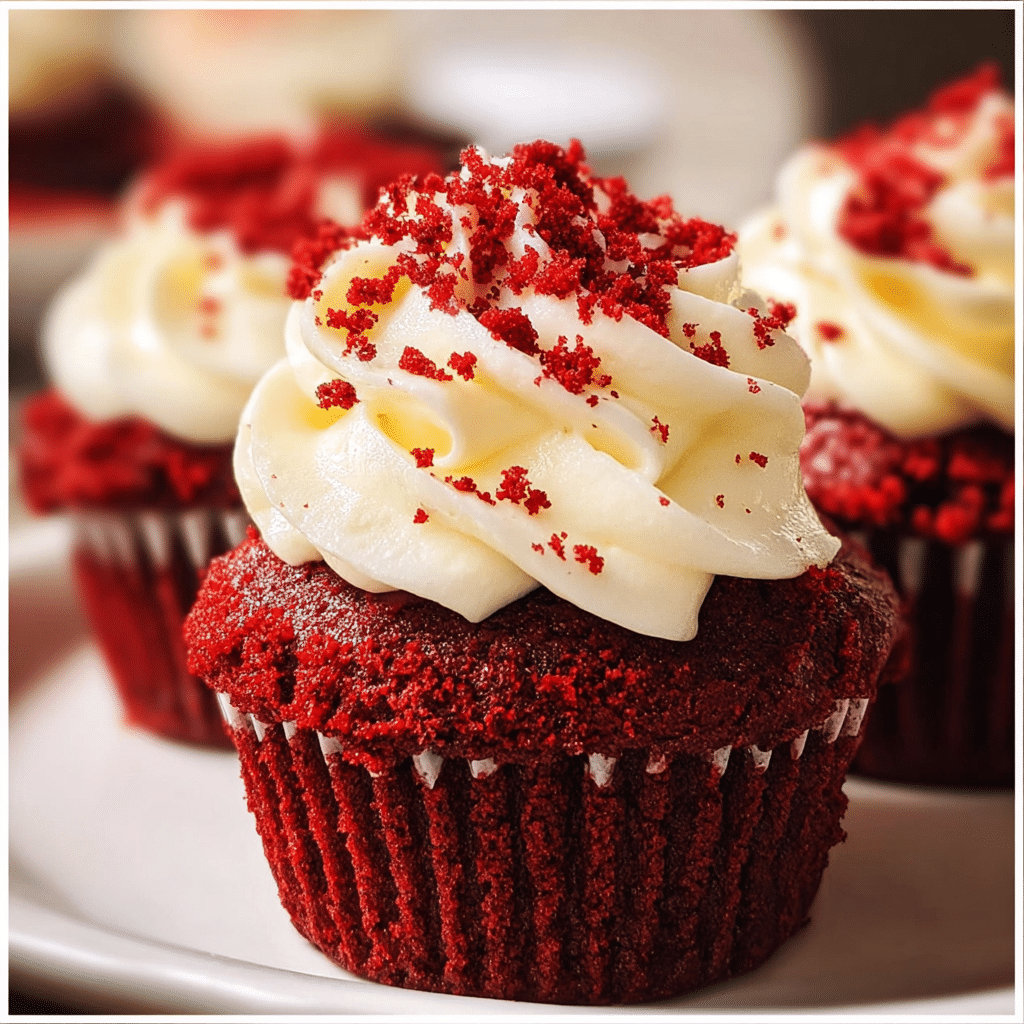
13. Frost cooled cupcakes and decorate with red crumbs or sprinkles.
Notes
Store cupcakes in the fridge for up to 3 days; bring to room temperature before serving.
You can freeze unfrosted cupcakes for up to 2 months.
For extra tang, use a touch of lemon juice in the frosting.